
Table of Contents
- What You’ll Need Before Starting
- Step 1: Assess Your Current Kitchen and Identify Problems
- Step 2: Define Your Renovation Goals and Priorities
- Step 3: Create a Kitchen Renovation Budget Checklist
- Step 4: Establish Your Kitchen Renovation Timeline
- Step 5: Plan the Kitchen Renovation Order of Work
- Step 6: Document Decisions and Create Your Kitchen Renovation Checklist PDF
- Common Mistakes to Avoid
- Frequently Asked Questions
Last Updated: October 11, 2026
What You’ll Need Before Starting
Gather a tape measure, notebook or digital document, camera or smartphone, and your home’s floor plans. Collecting images of your current kitchen from multiple angles can be helpful to reference throughout planning.
A kitchen renovation checklist is a comprehensive planning document that tracks every decision, deadline, and task required to transform your space. It prevents costly mistakes, keeps your project on schedule, and serves as the roadmap guiding you through each phase.
Start a shared document or spreadsheet now, even a simple one. As you work through the steps below, you’ll add items to it. Having everything in one place saves hours of searching for notes later.
Step 1: Assess Your Current Kitchen and Identify Problems
Walk through your kitchen and document what needs to change. Look at cabinet condition, countertop damage, appliance age, lighting quality, and layout flow. Take photos of problem areas and note specific issues: peeling paint, water damage, outdated fixtures, poor storage, or awkward work zones.
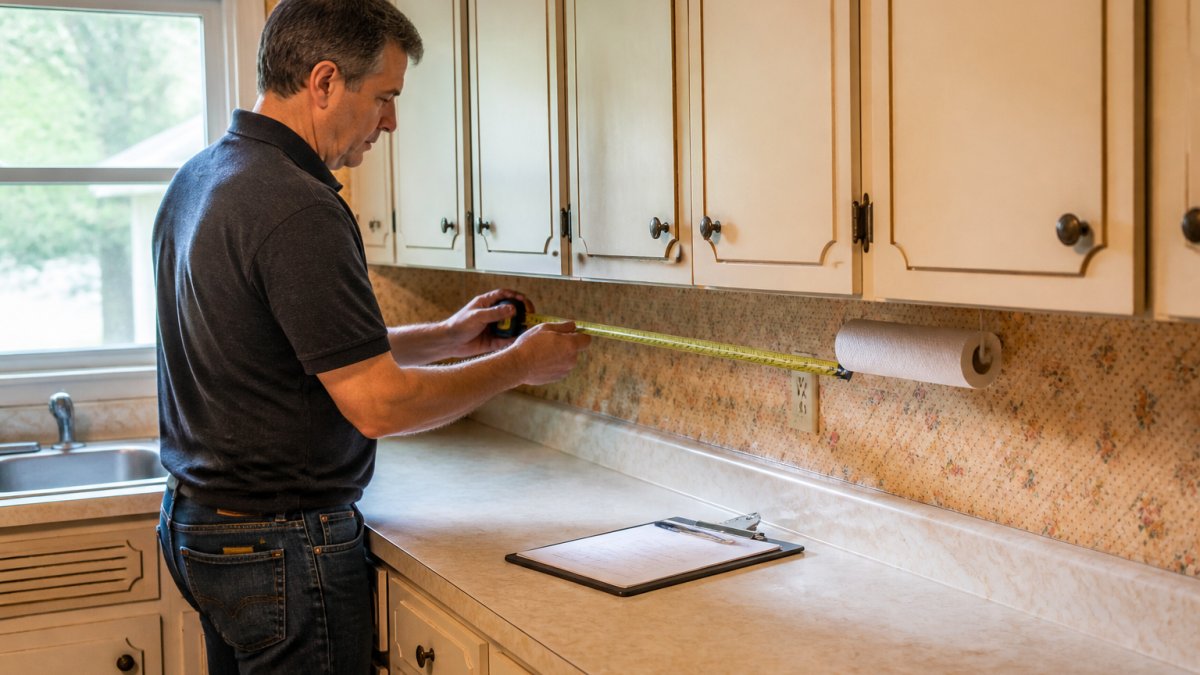
Ask yourself: What frustrates you most about this space? What breaks or fails regularly? Where do you run out of storage? Does the layout force you to walk too far between the sink, stove, and refrigerator? These pain points become priorities in your renovation checklist.
Document everything in writing. Don’t rely on memory. Specific observations like “the cabinet doors won’t close properly” or “the countertop slopes toward the wall” matter when contractors assess the scope of work.
Step 2: Define Your Renovation Goals and Priorities
List your renovation goals, improved function, updated aesthetics, better storage, or increased home value, then rank them by importance. Write your top three goals on your kitchen renovation checklist; these become your decision filter. When tempted by an expensive upgrade, ask: “Does this move me closer to my top three goals?” If not, skip it.
Step 3: Create a Kitchen Renovation Budget Checklist
Research typical renovation costs in your area, then build a detailed kitchen renovation budget checklist that accounts for materials, labour, permits, and contingency funds.
Break your budget into categories:
- Cabinets and storage solutions
- Countertops and backsplash
- Flooring
- Appliances
- Plumbing and electrical work
- Lighting and fixtures
- Labour and installation
- Permits and inspections
- Contingency (typically 10-20% of total budget)
Understanding and Managing Contingency Funds
Many homeowners skip or underestimate contingency funds. Hidden water damage, structural issues, code violations, or material price increases often emerge once work begins. A contingency fund prevents panic when unexpected costs arise.
Here’s how to structure and protect your contingency:
Calculate contingency correctly. Use 10% for cosmetic updates, 15-20% for full gut renovations, and 20%+ for homes built before 1980 (asbestos, outdated wiring, water damage are common).
Keep contingency separate. Do not fold contingency into your material and labour budgets. Set it aside in a dedicated account or line item. This prevents the temptation to spend it on upgrades before problems arise.
Document scope changes in writing. Get a written change order before unexpected work proceeds, stating the additional cost, what triggered it, and timeline impact. This prevents disputes and protects contingency funds.
Track every expense as committed, not just paid. Log costs the moment you order or sign contracts, not when invoices arrive. This prevents overspending and shows real-time budget remaining.
Reserve funds for long-lead items early. Commit budget to custom cabinets, imported tile, or special-order appliances in the first 2-3 weeks so contingency remains available if costs exceed quotes.
Plan for material price volatility. Build a 5% buffer into material costs to absorb price shifts without raiding contingency.
Creating Your Budget Tracking Document
Your kitchen renovation budget checklist should include:
| Category | Budgeted Amount | Committed Amount | Paid Amount | Remaining | Notes |
|---|---|---|---|---|---|
| Cabinets | $8,000 | $8,000 | $0 | $0 | Custom order, 10-week lead time |
| Countertops | $3,500 | $3,500 | $0 | $0 | Quartz, templated on-site |
| Flooring | $2,500 | $0 | $0 | $2,500 | Pending contractor recommendation |
| Appliances | $4,000 | $4,000 | $2,100 | $1,900 | Fridge ordered; stove pending |
| Electrical | $2,500 | $2,500 | $0 | $0 | Rough-in and panel upgrade |
| Plumbing | $2,000 | $1,500 | $0 | $500 | Rough-in; fixture costs TBD |
| Labour (General) | $6,000 | $6,000 | $0 | $0 | Contractor deposit paid |
| Permits | $800 | $800 | $800 | $0 | Building permit submitted |
| Contingency | $4,000 | $0 | $0 | $4,000 | Reserved for surprises |
| Total | $33,300 | $25,800 | $2,900 | $8,500 |
Update this document weekly. As soon as you commit to a purchase or sign a contract, move the amount from “Remaining” to “Committed.” This prevents overspending and shows you exactly how much flexibility you have left.
Underestimating your budget is one of the most common renovation mistakes. Projects that seem straightforward often uncover hidden problems once walls open up. Plan for surprises rather than hoping they don’t occur. If you reach 80% of your total budget (including contingency) before the project is complete, pause and reassess scope with your contractor.
Step 4: Establish Your Kitchen Renovation Timeline
Most kitchen renovations take 6-12 weeks depending on scope. Account for design and planning (2-4 weeks), permit approval (2-6 weeks), material ordering (2-8 weeks), demolition (1-2 weeks), rough-in work (2-3 weeks), installation (2-3 weeks), finishing (1-2 weeks), and inspections (1 week).
Decision Deadlines and Long-Lead Items
Long-lead items, custom cabinets, special-order appliances, imported tile, or custom countertops, often take 8-12 weeks to arrive. These items determine your project start date, not the other way around. Identify them early and map decision deadlines backwards from your desired completion date.
Create a long-lead item timeline. List every item with a lead time longer than 4 weeks:
| Item | Typical Lead Time | Decision Deadline | Order Date | Delivery Date |
|---|---|---|---|---|
| Custom cabinets | 8-12 weeks | Week 1 of planning | Week 2 | Week 10-14 |
| Quartz countertops | 4-8 weeks | Week 3 (after cabinet order) | Week 4 | Week 8-12 |
| Special-order appliances | 6-10 weeks | Week 1-2 | Week 2-3 | Week 8-13 |
| Imported tile or backsplash | 4-6 weeks | Week 3-4 | Week 4-5 | Week 8-11 |
| Custom range hood or lighting | 4-8 weeks | Week 2-3 | Week 3-4 | Week 7-12 |
| Hardwood flooring (custom finish) | 4-6 weeks | Week 3-4 | Week 4-5 | Week 8-11 |
Confirm appliance models and finishes by week 2, countertop material by week 3, flooring and tile by week 3-4, and lighting and hardware by week 2-3. This ensures long-lead items arrive on schedule without delaying installation.
Building Buffer Time into Your Schedule
Add buffers for permit approval (1-2 weeks), material delivery (1 week), and between major phases (2-3 days). If your renovation spans winter or a wet season, add 1 week for weather delays affecting drywall, paint, and finishing work.
Your kitchen renovation timeline is only as fast as your longest-lead item. Identify long-lead items in week 1, finalize decisions by week 3, and order by week 4. Everything else sequences around these items. Delay long-lead decisions, and your entire project slips by weeks or months.
Step 5: Plan the Kitchen Renovation Order of Work
The kitchen renovation order of work is: permits, clear kitchen, remove appliances, demolish old finishes, repair structural issues, rough-in plumbing/electrical, install new framing, install fixtures, drywall, paint, flooring, cabinets, countertops, appliances, lighting/hardware, and final inspections. This sequence prevents rework and delays.
The kitchen renovation order of work is not flexible. Follow it, and your project stays on track. Skip steps or reverse the order, and you’ll face costly corrections and delays.
Step 6: Document Decisions and Create Your Kitchen Renovation Checklist PDF
As you move through planning, document every decision on your kitchen renovation checklist. Record choices for cabinet style, countertop material, appliance models, paint colors, hardware finishes, and lighting. Include the date of each decision and who made it.
A kitchen renovation checklist PDF serves as your single source of truth. When contractors ask “What colour is the backsplash?” or “Which appliances did we choose?”, you have the answer documented. This prevents miscommunication and ensures everyone works from the same plan.
Your kitchen renovation checklist should include:
| Decision Area | Choice Made | Supplier/Brand | Cost | Order Date | Delivery Date |
|---|---|---|---|---|---|
| Cabinets | Shaker style, white | [Supplier] | [Amount] | [Date] | [Date] |
| Countertops | Quartz, light grey | [Supplier] | [Amount] | [Date] | [Date] |
| Flooring | Luxury vinyl plank | [Supplier] | [Amount] | [Date] | [Date] |
| Backsplash | Subway tile | [Supplier] | [Amount] | [Date] | [Date] |
| Appliances | Stainless steel suite | [Brand] | [Amount] | [Date] | [Date] |
Keep this document accessible to your contractor, designer, and anyone involved in the project. Update it as decisions change or new items arise.
Pro Kitchen & Bath recommends also documenting contractor contact information, permit numbers, warranty details, and payment schedules in one place. When issues arise mid-project, you have every important detail at your fingertips.
Common Mistakes to Avoid
Most renovation problems stem from poor planning. Understanding common mistakes helps you avoid them.
Skipping the detailed assessment. Homeowners who don’t thoroughly assess their current kitchen often miss hidden problems. Water damage, structural issues, or outdated wiring emerge once work begins, creating surprise costs. A thorough initial assessment prevents this.
Prioritizing aesthetics over function. A beautiful kitchen that doesn’t work for your household is a wasted investment. Function comes first. Aesthetics follow. Your kitchen renovation checklist should prioritize workflow, storage, and usability before selecting finishes.
Underestimating the budget. Every homeowner thinks their project will come in under budget. Most don’t. Build realistic costs into your kitchen renovation budget checklist and include contingency funds.
Choosing materials based on price alone. The cheapest option often requires replacement within 5-10 years. Mid-range materials that balance cost and durability usually deliver better value over time.
Ignoring the timeline. Rushing a renovation creates quality problems. Contractors who work too fast make mistakes. Suppliers who cut corners deliver poor materials. A realistic kitchen renovation timeline prevents this pressure.
Not documenting decisions. Verbal agreements lead to misunderstandings. A written kitchen renovation checklist prevents contractor disputes and ensures you get what you agreed to.
Failing to plan for disruption. Your kitchen will be unusable for weeks. Plan where you’ll prepare meals, how you’ll manage without a sink, and what temporary arrangements you need. This prevents daily frustration during the renovation.
Creating a comprehensive kitchen renovation checklist transforms an overwhelming project into manageable steps. You’ve mapped your goals, set your budget, planned your timeline, and documented every decision. Pro Kitchen & Bath guides homeowners through the renovation process, helping you avoid costly mistakes and stay on schedule. With 25 years of hands-on experience managing kitchen renovations from start to finish, we understand every phase of the work and what it takes to deliver high-quality results. Ready to turn your renovation vision into reality? Book a FREE consultation with Pro Kitchen & Bath.
Frequently Asked Questions
What should I include in my kitchen renovation checklist?
Your kitchen renovation checklist should cover six core areas: current kitchen assessment, renovation goals and priorities, budget and contingency planning, design style and material selections, project timeline and sequencing, and permits or inspections required. Include specific decisions like cabinet style, countertop material, appliance choices, flooring, lighting, and plumbing or electrical work. Add contractor information, payment schedule, and a final walkthrough checklist to ensure nothing is missed.
In what order should a kitchen remodel be done?
The typical kitchen renovation order of work starts with permits and inspections, followed by demolition and site preparation. Next comes structural work (framing, plumbing, electrical), then cabinet installation, countertops, flooring, painting, and fixture installation. Appliances go in near the end, with final inspections, touch-ups, and cleanup completing the project. This sequence prevents damage to finished surfaces and ensures systems are in place before cosmetic work begins.
How do I create a budget for a kitchen renovation?
Start with a kitchen renovation budget checklist that allocates percentages to each category: cabinets (30-35%), countertops and flooring (20-25%), appliances (15-20%), labor (20-25%), and contingency (10-15%). List every material and service you need, get quotes from suppliers and contractors, and add a contingency fund for unexpected costs. Track all expenses as the project progresses and review spending monthly to stay on target.
How long does a kitchen renovation usually take?
A kitchen renovation timeline typically ranges from 6 to 12 weeks for a full remodel, depending on scope and complexity. A basic renovation with minimal structural changes may take 4-6 weeks, while a major overhaul involving plumbing or electrical work can extend to 12-16 weeks. Factor in permit approval time, material delivery delays, and inspection schedules when planning your kitchen renovation timeline. Your contractor should provide a detailed schedule before work begins.